
Appearance
Grant employee permissions
Goal
Add a new cashier or supervisor to your store and give them exactly the actions they need to do their job — no more, no less.
Where this happens
- In the back office (Core App): open Finance & Admin → HR Management → Employee Security. The Wiki groups this under 'Administration'.
Franchise admins (and supervisors with the right permission) add employees and set their security group here. The cashier does not see this screen.
The Employee Security screen is a three-step wizard — Groups → Categories → Permissions — built from SecurityManagementView.vue. It works the same way whether you are picking a group for one employee or auditing an existing group.
Prerequisites
- You are signed in as a franchise admin or supervisor with the right permission.
- The new employee exists in the system. If they do not, add them under Finance & Admin → HR Management → Create Employee first.
- You know which security group matches their role (for example, Cashier, Supervisor, Stock Controller). Ask the franchise owner if you are not sure.
- You have approval from the franchise owner for the permission level you are about to set.
Steps
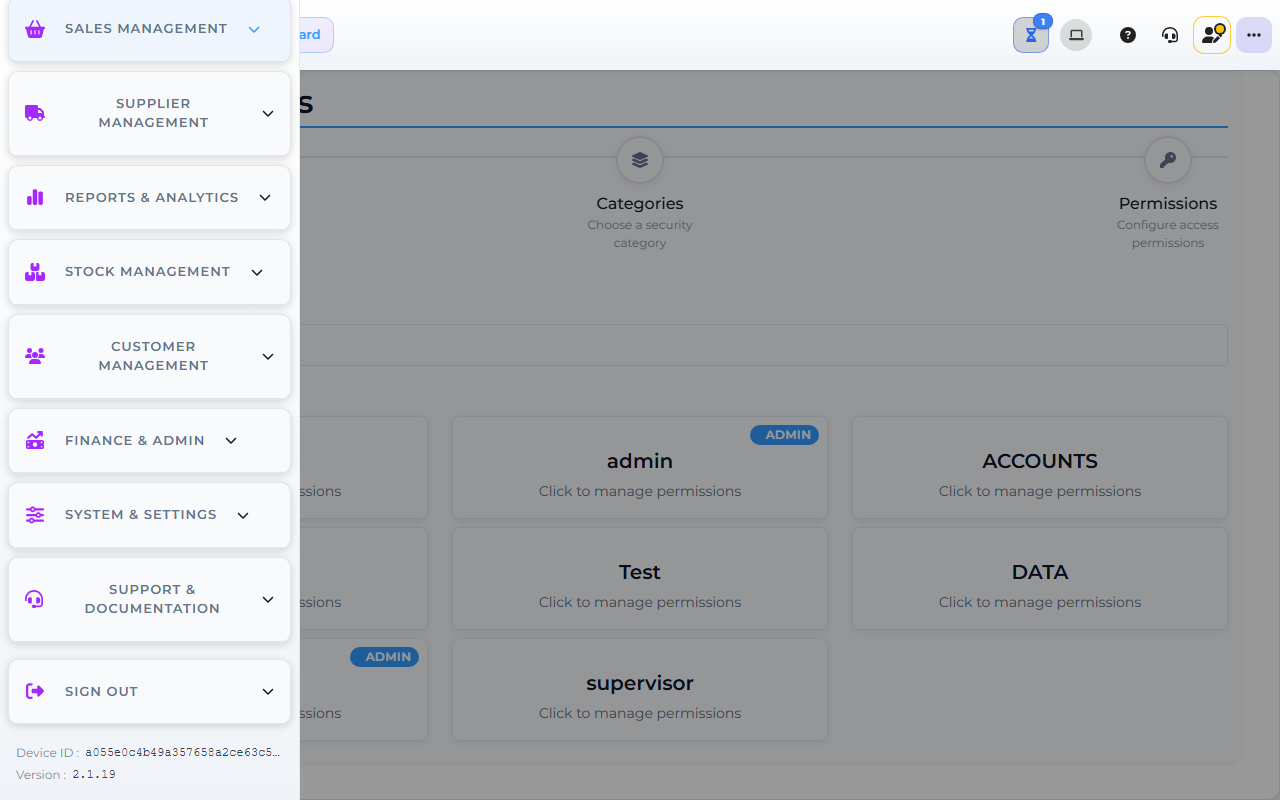
The image shows the Core App Employee Security screen. Screens may differ slightly by version.
1. Open Employee Security
- In the back office, open Finance & Admin.
- Click HR Management.
- Click Employee Security.
The screen opens on the Groups step, showing a grid of security-group cards. The breadcrumb reads Security Groups.
2. Pick the security group
- Use the Search security groups... box to narrow the grid (optional).
- Click Create New Group to author a new group, or click an existing group card to manage its permissions. Admin groups show an Admin badge in the top-right corner.
3. Pick the category
The wizard advances to the Categories step. Each security group owns one or more permission categories (one category = one functional area, e.g. Sales, Stock, Reports).
- Use the Search security categories... box to narrow the grid (optional).
- Click the category card you want to audit or change. Each card shows an icon and a one-line description.
- Click Back to Security Groups to return to the group grid.
4. Toggle the permissions
The wizard advances to the Permissions step for the chosen group and category.
- Use the Search permissions... box to narrow the permission list (optional).
- Toggle each action the role should be able to do. Toggle off any action the role should not have, even if the standard group usually allows it (for example, a cashier who does not run cashup).
- If you are unsure about a single action, leave it as the role default and ask your supervisor before saving.
- The breadcrumb shows
Security Groups › <group> › <category>so you always know where you are.
If a screen the new employee needs is missing from the standard group, ask the franchise owner whether to add a custom permission. Do not change the group on your own.
5. Save and confirm
- Click Save.
- Wait for the confirmation message that includes the group name and the category you changed.
- Reopen the group and category to confirm the saved permissions match what you intended.
6. Apply the group to the new employee
- After saving the group, open Finance & Admin → HR Management → Edit Employee for the new user.
- Pick the security group you just set or audited.
- Save the employee record.
- Have the new user sign in once while you watch so you can confirm they see only the screens in their role.
- Keep the security-group name and approval reference with the employee file.
Expected result
- The new employee is linked to the chosen security group and can sign in to the correct store.
- The cashier sees only the screens in their role.
- The change is recorded with the franchise admin's name and a timestamp.
Edge cases
- The new cashier cannot see a screen they need. The role does not include it. Do not widen the role on your own — ask the franchise owner to add the action or move the employee to a different group.
- The cashier can see a screen they should not. Reopen the security group and category in Employee Security, toggle off the extra action, then have the cashier sign out and back in to confirm the change.
- The employee is not in the list. Add them under Finance & Admin → HR Management → Create Employee first with the right staff number, then return to Edit Employee to set their group.
- You do not know which security group fits the role. Ask the franchise owner. Do not guess — wrong groups either block the new cashier or let them see more than they should.
- Two employees share one account. Stop. Never share accounts — give each person their own sign-in.